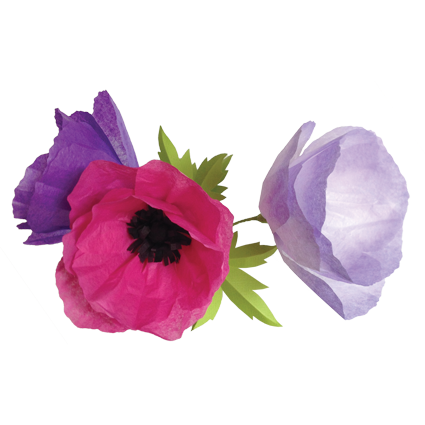


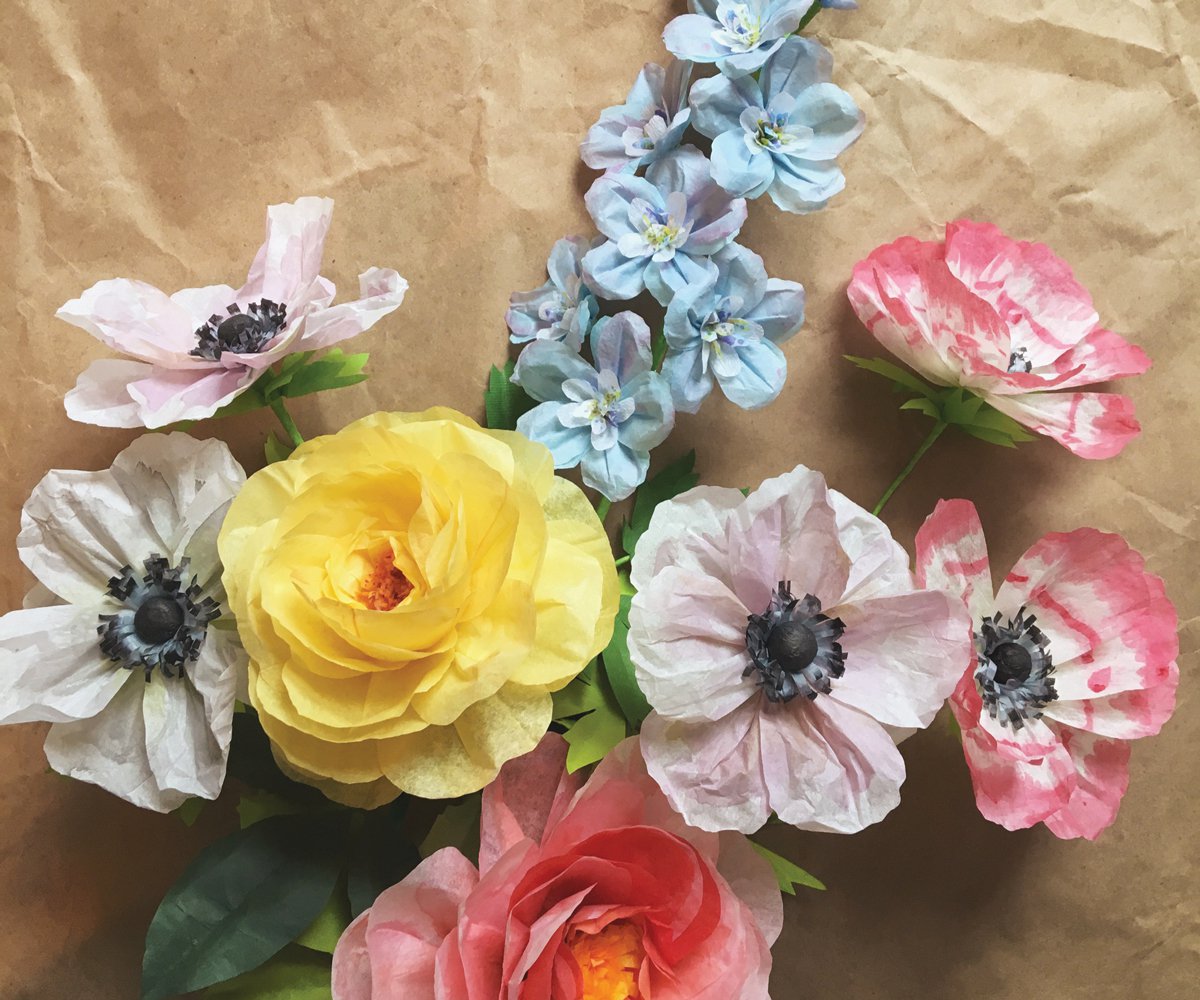
Photo courtesy Kelsey GlasstetterPetals of all shapes, colors and sizes make their way into Kelsey Glasstetter’s paper flower arrangements, including black-centered anemones.
Local author Kelsey Glasstetter brings beauty to craft time with her book 100 Simple Paper Flowers. Writer Julie Davis tries this activity with her three young daughters (and a little help from Grandma).
Jan 2018
Family time. It’s never perfect. But with the help of Kelsey Glasstetter’s book 100 Simple Paper Flowers, it can at least be really pretty. I decided to give it a try with my mom and three girls: my 12-year-old Nicole, 9-year-old Allyson and 4-and-a-half-year-old (don’t forget the half) Mallory.
We met Glasstetter at Tropical Smoothie Cafe where she works as a manager. There, she had a copy of her book along with the necessary supplies: tissue paper, scissors, craft wire, glue and a little bit of pre-dried clay. (And a smoothie for everyone.)
The book’s publisher, Ivy Press, approached Glasstetter about the project after seeing her work on designsponge.com. A naturally artsy person, Glasstetter’s first paper flower project was a Thanksgiving centerpiece. She got started using how-to books. “The ladies who wrote those books are actually online friends of mine now,” she says.
Our project was an anemone—which made the kids happy. “Like in Finding Nemo!” they said. After we chose our colors (purple and pink were a popular choice with this crew), Glasstetter showed us the templates from her book. Mercifully, she did the cutting. “I usually use really sharp scissors, so I do paper cutting for the younger ones,” she says.
We started with the flower’s pistil—the black, fringy center. A little bit of glue (a little, Mallory!), and we each wrapped the black, fringed paper around a tiny piece of dried clay on the end of craft wire. Next we added glue to a long piece of stem-colored paper and wrapped it around the length of the wire. This was going well, so far.
Next came the petals. “I usually do what’s in nature, so six petals on this one,” Glasstetter says. “But you can add whatever you want.” My kids took that to heart. Evidently, they like their anemones a little more on the full side. We just gathered the bottom edge a bit. Mallory crumpled her petals into little balls, so Grandma stepped in and helped. Then we added a little glue (just a little, Mallory!), fought over the glue bottle a bit and finally placed the petals around the center of our flowers.

At this point, Mallory was stealing SunChips from the counter so we let her take a snack break. Nicole and Allyson were thoroughly enjoying their paper project. “I’m going to be using this book a lot,” Nicole said. Glasstetter points out that tissue paper is cheap, so if you mess up it’s not a big deal. “I even use tissue paper I get in presents,” she says.
Glasstetter explains that paper flowers are really meaningful to people who can’t be around fresh flowers because of respiratory issues. “A lady had me make a potted plant for her mother who couldn’t have flowers but loved to garden,” she says. Glasstetter does a lot of custom orders. For first anniversaries, traditionally considered the paper anniversary, she often creates a replica of the bridal bouquet. She’s even done flowers for wedding ceremonies. “If the flower you want is out of season, like a peony during winter, you can do a paper flower,” she says. “Orchids are very expensive, so you can do paper ones.”
For beginners, Glasstetter recommends starting with anemones, poppies, wild rose, dogwood or houseplant leaves. Get some experience before taking on hollyhocks, honeysuckle or anything with complex stems and multiple small flowers. After attaching our leaves we took a picture of the girls with their paper creations. They weren’t perfect, but they really were pretty. Kind of like my kids.
To order the book, go to Amazon and search for 100 Simple Paper Flowers, or Kelsey Elam (her maiden name). For custom pieces email Kelsey Glasstetter at kelsey@moonflora.com or visit moonflora.com and click “Contact.”