


Lunch
Sourdough Bread
Ready to plunge your hands into some flour? This sourdough bread recipe will help you learn the basics of the process. Adapted from a recipe by @FullProofBaking.
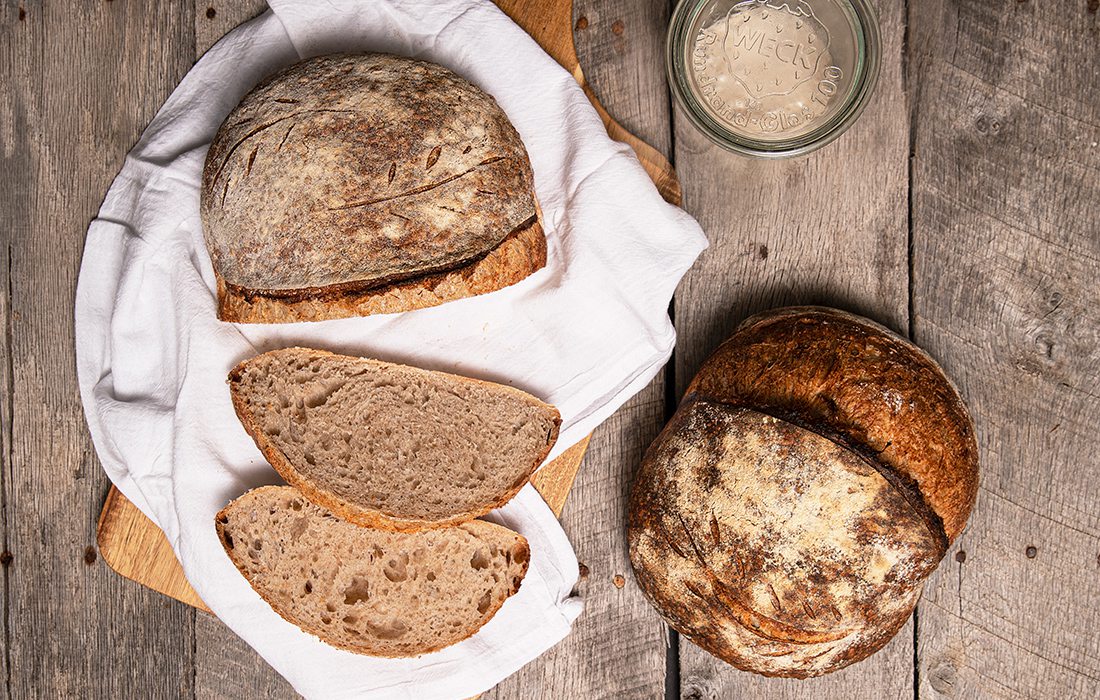
Photo by Brandon Alms
Purchase Photo
Adapted from a recipe by @FullProofBaking. Yields two loaves.
Ingredients
Special Equipment
Kitchen scale
Bench scraper
Banneton or proofing basket (optional)
Bread lame
Baking stone
Bread peel
Levain
66 grams mature sourdough starter
16 grams whole wheat flour
50 grams bread flour
66 grams distilled water
Autolyse
200 grams whole wheat flour
800 grams bread flour
750 grams distilled water
Other
20 grams fine grain sea salt
Distilled water for spritzing
Directions
Day One: Preparing Your Dough
1. Mix together all ingredients for your levain with a silicone spatula in a tall sided container. Cover and set in a warm place until mature, anywhere from four to six hours. (Tip: Warming your distilled water to 80–90°F can help speed up the process)
2. Mix your autolyse ingredients together with a silicone spatula, ensuring no dry flour is left in the mix. You’ll want to complete this step two hours before your levain is set to reach maturity, allowing you to kickstart your gluten development. Cover and set aside for about two hours.
3. When your levain reaches maturity, place on top of your autolyse, using your silicone spatula to scrape out all of the mixture. Wet your hands and spread the levain on top of your dough before beginning to mix by hand, about five minutes. Cover and set aside for 30 minutes.
4. Sprinkle the salt on top of the dough. Wet your hands and begin dimpling in the salt before continuing to mix by hand until fully incorporated, about five minutes. Cover and set aside for 30 minutes.
5. Tip the dough out onto a lightly misted surface and perform a stretch and fold, pulling each of the four sides away from the center and folding onto itself. Place back in the bowl, cover and set aside for 30 minutes.
6. Tip the dough out onto a lightly misted surface, wet your hands, and laminate the dough by gently pulling the dough outwards from the center across your surface until you’re left with a thin rectangle (a wet bench scraper can be useful when pulling up the edges of the dough). Fold the dough onto itself in thirds, then repeat from the opposite side. Place back in the bowl, cover and set aside for 30 minutes.
7. Repeat step five four times over the next two hours.
8. After your final stretch and fold, cover and let sit for four hours.
9. Tip the dough out onto a lightly floured surface. Use your bench scraper to cut your dough in half. Shape your dough into two round discs and let rest for 5 minutes. Shape your loaves by folding the left and right edges of the dough into the center, like an envelope. Fold the top of your dough down over the center, “closing” the envelope. Flip over and pull the dough towards you to create a taught surface.
10. Flip each dough ball into a floured banneton (brown rice flour is best to avoid “caking” of flour) or proofing basket, or place a floured kitchen towel into a medium sized bowl instead. Cover and place in the refrigerator overnight.
Day Two: Baking
1. Preheat your oven to 500°F with your baking stone in toward the center of the oven. Let preheat for an hour.
2. Before you’re ready to bake, place a sheet pan with water underneath the baking stone to create a humid environment.
3. Flour the surface of your bread peel and the bottom of your dough.
4. Flip your dough out onto a bread peel.
5. Use your bread lame to score the top of your dough.
6. Slide your dough off of the bread peel and onto the baking stone. Spritz with water to create a blistered texture on the crust. Bake for 20 minutes at 500°F.
7. Open the oven door and remove the sheet tray (be cautious of steam when opening the oven door). Lower the oven temperature to 450°F and bake for another 20 minutes.
8. At the end of the bake, let the bread cool on a wire rack. Internal temperature should reach 208°F. Repeat process for second loaf.